Running the Raw Linux Kernel in QEMU
In the previous post we learned how to run a packaged Linux distribution in QEMU. This time, let’s explore running a raw Linux kernel in QEMU.
A Brief Introduction to Initial Ramdisk
Many Linux distributions ship a small, generic kernel image. The device drivers are included as loadable kernel modules and stored in file system, it is just not practical to include all the device drivers in the kernel image itself. On my machine, the size of vmlinuz-linux is only 6.3 megabytes:
$ ls -lh /boot/vmlinuz-linux
-rw-r--r-- 1 root root 6.3M Mar 15 21:30 /boot/vmlinuz-linux
This presents a challenge of detecting and loading the necessary modules to mount the root file system during boot time. It’s a chicken-and-egg problem. Additionally, the root file system may require special preparations to mount, such as being on an encrypted partition.
To address these challenges, the initial ramdisk comes into play as a temporary, RAM-based root file system. It contains user-space utilities that detect hardwares, descover devices, load necessary modules, and mount the actual root file system. Once it is loaded into memory, a simple yet sufficient environment is set up for the Linux kernel to complete the boot process. This environment is often called “early user space”.
On my machine, the initial ramdisk image is located in the boot partition with the name initramfs-linux.img. Not surprisingly, it is larger than the Linux kernel image itself:
$ ls -lh /boot/initramfs-linux.img
-rw-r--r-- 1 root root 9.4M Mar 15 21:30 /boot/initramfs-linux.img
We can examine the contents of the image by using command lsinitcpio /boot/initramfs-linux.img. Indeed, it contains a simplified root system with various helper tools:
$ lsinitcpio /boot/initramfs-linux.img
bin
buildconfig
config
dev/
etc/
etc/fstab
etc/initrd-release
etc/ld.so.cache
etc/ld.so.conf
etc/modprobe.d/
etc/mtab
hooks/
hooks/udev
init
init_functions
lib
lib64
new_root/
proc/
run/
sbin
sys/
tmp/
usr/
usr/bin/
...
var/
var/run
VERSION
Creating an Initial Ramdisk
The command to create an initial ramdisk in Arch Linux mkinitcpio, but it may defer in other distributions.
Quoting from the mkinitcpio manual page:
(mkinitcpio) creates an initial ramdisk environment for booting the Linux kernel. The initial ramdisk is in essence a very small environment (early userspace) which loads various kernel modules and sets up necessary things before handing over control to init. This makes it possible to have, for example, encrypted root filesystems and root filesystems on a software RAID array. mkinitcpio allows for easy extension with custom hooks, has autodetection at runtime, and many other features.
Let’s proceed with creating the initial ramdisk.
$ mkinitcpio -g initramfs.img
==> Starting build: 5.5.9-arch1-2
  -> Running build hook: [base]
  -> Running build hook: [udev]
  -> Running build hook: [autodetect]
  -> Running build hook: [modconf]
  -> Running build hook: [block]
  -> Running build hook: [filesystems]
  -> Running build hook: [keyboard]
  -> Running build hook: [fsck]
==> Generating module dependencies
==> Creating gzip-compressed initcpio image: /home/yuankun/qemu-test/initramfs.img
==> Image generation successful
Configuring and Building the Linux Kernel
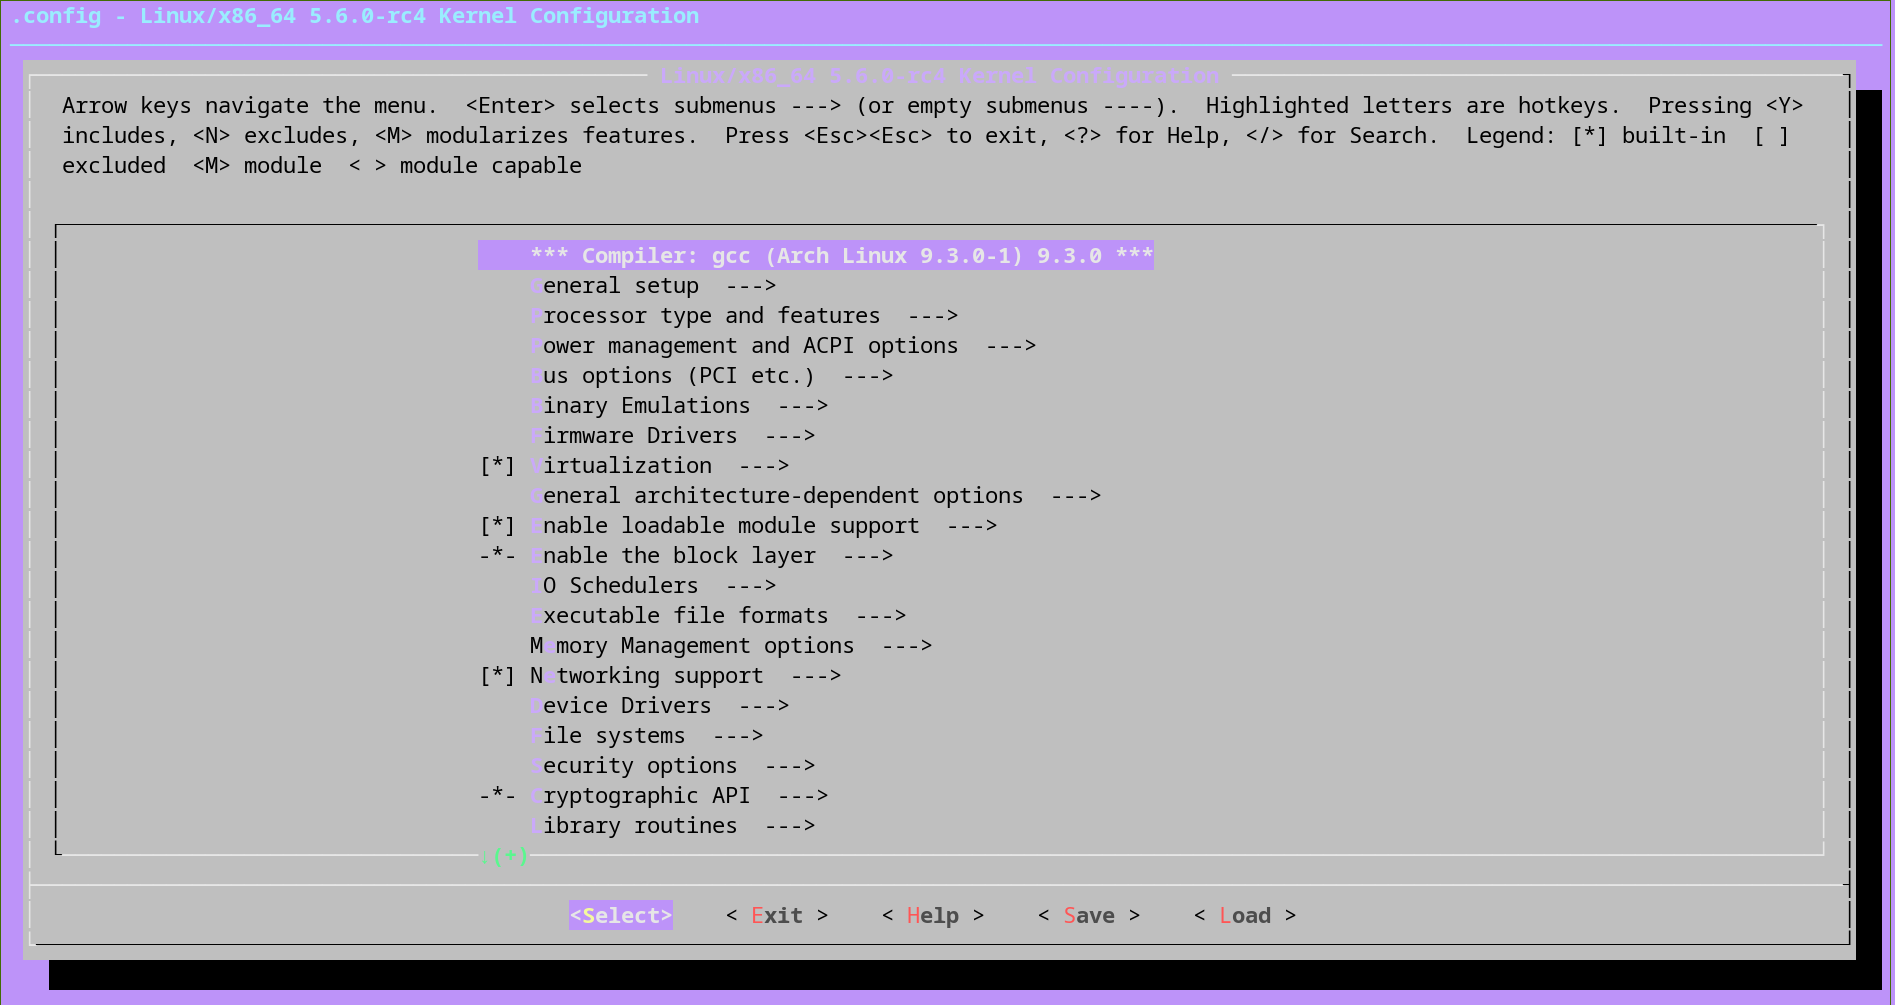
Clone the Linux source code, and configure the Linux kernel with make ARCH=x86_64 menuconfig.
Save the configurations and exit the configuration interface, now let’s compile the kernel image. The compiled kernel image will be located at arch/x86/boot/bzImage.
$ make -j`nproc`
...
Setup is 13820 bytes (padded to 13824 bytes).
System is 8801 kB
CRC 52c54fbc
Kernel: arch/x86/boot/bzImage is ready  (#2)
Booting the Linux Kernel in QEMU
Now that we have both the Kernel image and the initial ramdisk, it’s time to boot the Linux kernel in QEMU.
$ qemu-system-x86_64 \
    -enable-kvm \
    -kernel bzImage \
    -smp cores=1,threads=2 \
    -m 1024 \
    -append "console=ttyS0" \
    -initrd initramfs.img \
    -serial stdio \
    -display none
[    0.000000] Linux version 5.6.0-rc6+ (yuankun@mars) (gcc version 9.3.0 (Arch Linux 9.3.0-1)) #2 SMP Tue Mar 17 17:42:13 +08 2020
[    0.000000] Command line: console=ttyS0
[    0.000000] x86/fpu: x87 FPU will use FXSAVE
[    0.000000] BIOS-provided physical RAM map:
[    0.000000] BIOS-e820: [mem 0x0000000000000000-0x000000000009fbff] usable
[    0.000000] BIOS-e820: [mem 0x000000000009fc00-0x000000000009ffff] reserved
[    0.000000] BIOS-e820: [mem 0x00000000000f0000-0x00000000000fffff] reserved
[    0.000000] BIOS-e820: [mem 0x0000000000100000-0x000000007ffdffff] usable
[    0.000000] BIOS-e820: [mem 0x000000007ffe0000-0x000000007fffffff] reserved
[    0.000000] BIOS-e820: [mem 0x00000000feffc000-0x00000000feffffff] reserved
[    0.000000] BIOS-e820: [mem 0x00000000fffc0000-0x00000000ffffffff] reserved
[    0.000000] NX (Execute Disable) protection: active
[    0.000000] SMBIOS 2.8 present.
...
[rootfs ]#
You will soon see the [rootfs] # prompt, indicating that we are now in the environment provided by the initial ramdisk. Cheers!
